Initial Setup
The following walk-through describes the steps for the initial setup of the Orca pipeline. If already complete, please see Orca usage.
Prerequisites
Ensure that the following tools are installed before continuing with the walk-through below:
The scripts are executed on bash shell. If using a computer with a windows-based operating system, install a WSL environment to execute the script.
Orca requires 6 standard_nc6s_v2 machines per running pipeline. Please request a quota of 6 or more from Microsoft before continuing with Orca.
Subscription and Web App
-
Subscribe
To get started using Orca please visit the offering on Microsoft's Azure Synapse Analytics Marketplace.
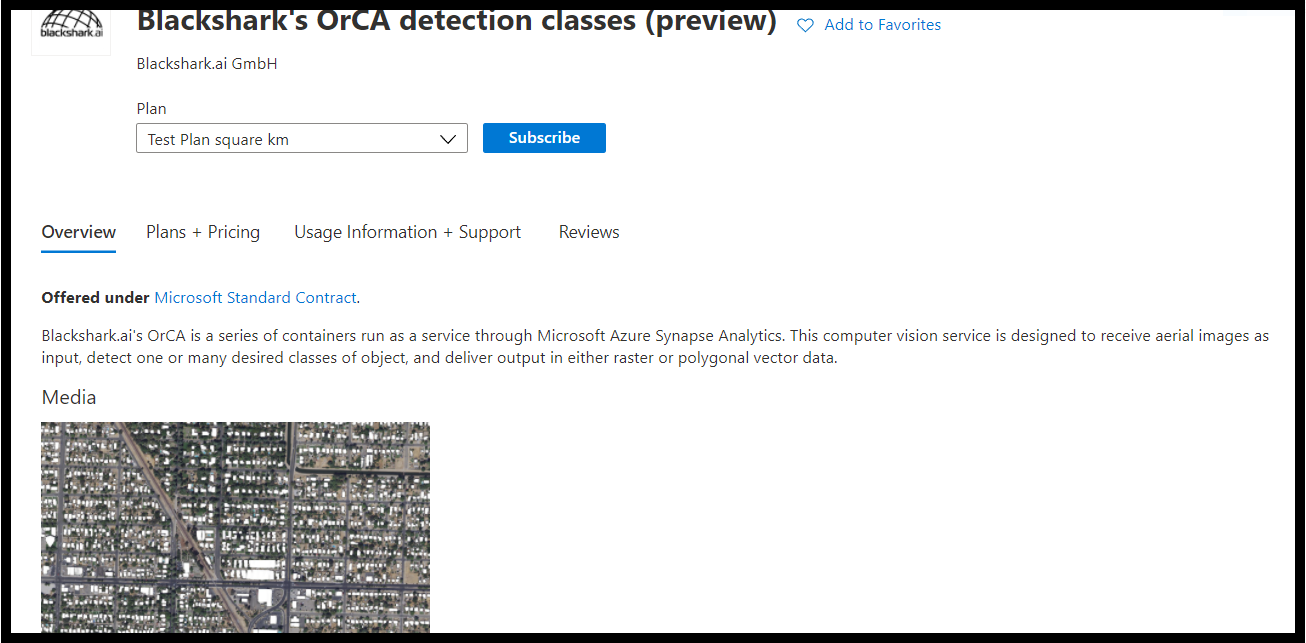
Choose a subscription plan and click subscribe to get started Next, determine the project details. Enter the subscription, the resource group within the subscribing organization, and a particular user name. Be sure to review for accuracy before clicking subscribe.
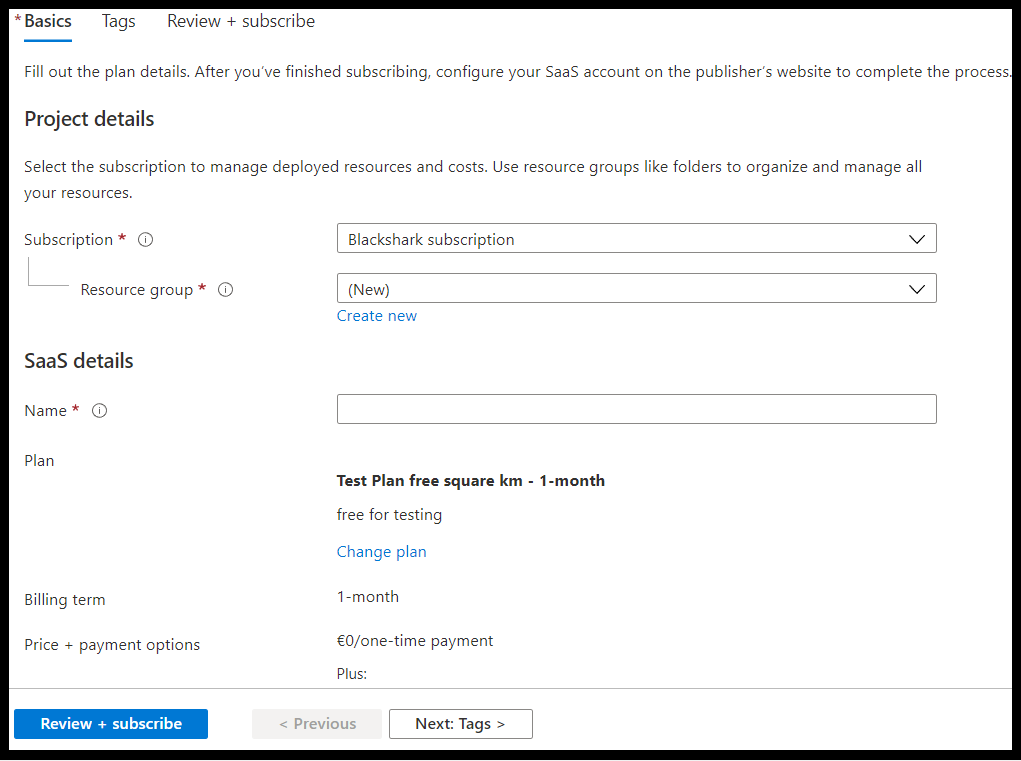
Fill out all required fields Warning
Before using Orca, it is necessary to subscribe via the offering on Azure Synapse Analytics Marketplace. Orca will not generate the required user credentials when visiting the webb app directly or without a valid token in the URL!
-
Confirm
After subscribing to the plan on Microsoft Azure Marketplace a confirmation email with a link will be sent. Click the link in the email to configure the account to include the Orca subscription. The link in the email wil be valid for one hour. After one hour it is still possible to configure the account using the configure account button on the subscription offer page on the Azure marketplace. After confirming and configuring the account, you will be redirected automatically to the Orca web app with a valid registration token.
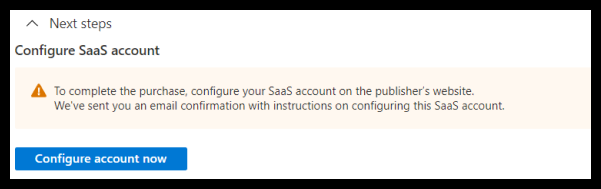
Click configure account to be redirected to the web app The first time a member of an organization attempts to use Orca, it is possible that an administrator will need to add Orca as a trusted app to the tenant. This depends on the configuration of the tenant.
-
Log in and Accept Terms and Conditions
Sign in to the Orca web app using your Microsoft account login credentials.

Log in to Orca To use Orca, the license terms and conditions as well as the privacy policy must first be accepted by clicking the Accept License Terms button.
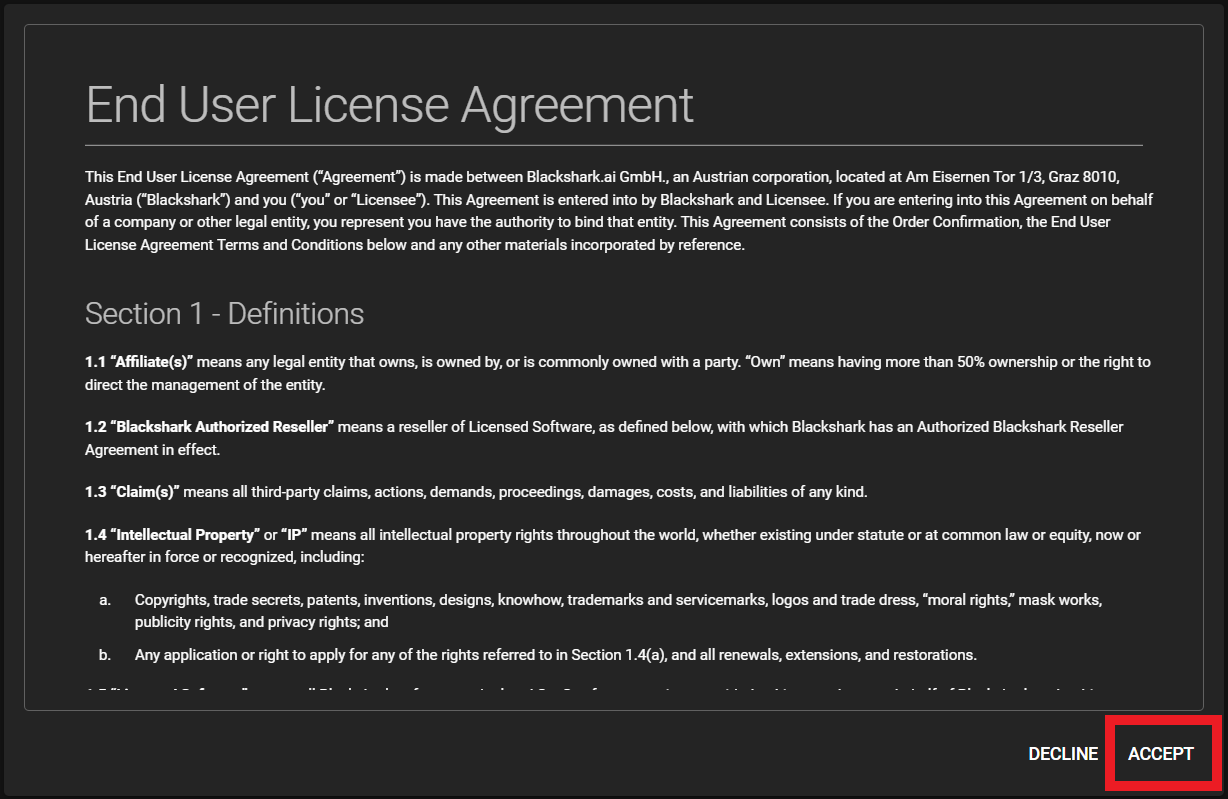
Accept license terms and privacy policy to access Orca -
Receive Credentials and License Key
After accepting the terms, a username, password, and license key will be made available. These credentials will be necessary to set up and operate the Orca containers. It may take a few minutes to generate these credentials.
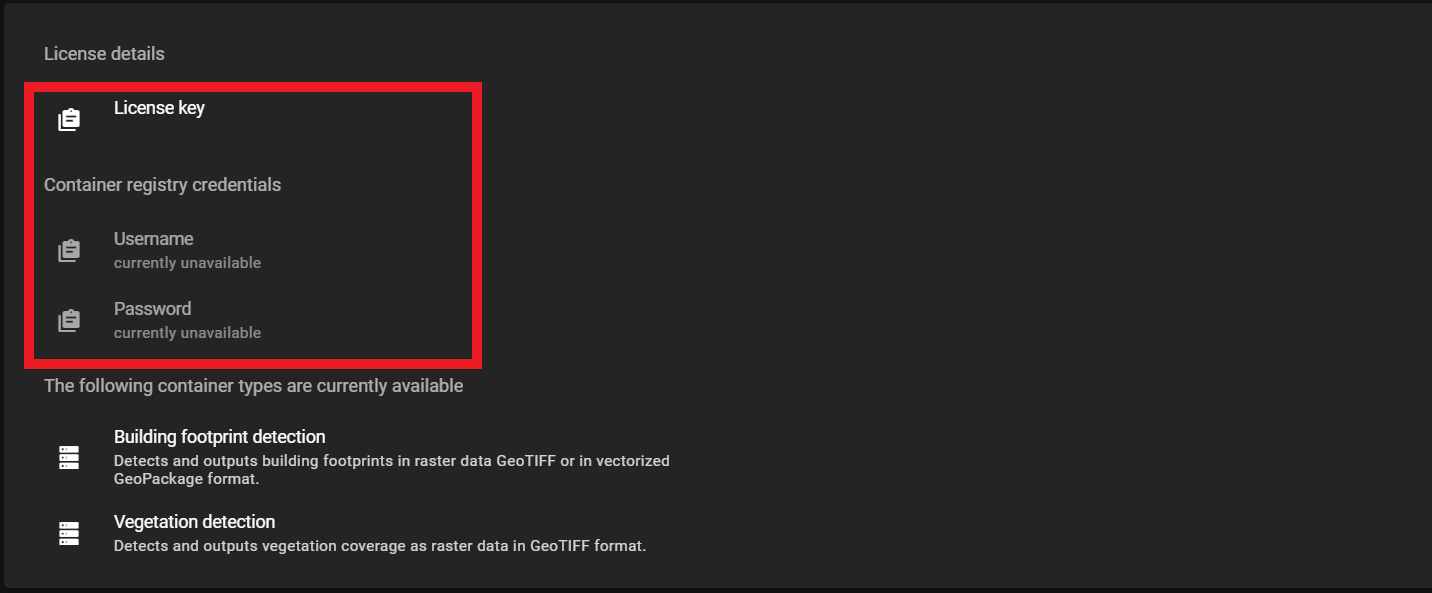
Credentials can be found in the web app
Pipeline Setup
This pipeline setup explains how to integrate Orca with Microsoft's Azure Synapse Analytics for use in that platform. For information on how to run Orca locally, see:
-
Clone the Repositories
First, clone the Microsoft Synapse repository.
Then, clone the blackshark.ai repositorygit clone https://github.com/Azure/Azure-Orbital-Analytics-Samples.gitgit clone https://github.com/blackshark-ai/orca-on-azure.git -
Setup the Azure Environment
Now, log in to Azure.
A window will open to log in to Azure using Microsoft credentials.az loginAfter logging in, run
install.shwithin thedeploydirectory entering an environment code (ex.aoi) and an Azure region (ex.westeurope). The environment code and region will be used later../deploy/install.sh <env-code> <azure-region>Note
This installation step may take up to fifteen minutes to complete.
Now, run the
configure.shscript within thedeploydirectory.Then, run./deploy/configure.sh <env-code>package.shusing the same environment code as in the previous installation step../deploy/package.sh <env-code>Finally, in the integrate tab of the Azure Synapse portal click the + to add a new resource. Choose import resources from support files and import package.zip
-
Package and Import the Pipeline
Navigate to the root directory of the blackshark.ai repository cloned in step 1 of Pipeline Setup.
Run the following command entering the same environment designated previously. Also enter the user credentials provided in the Orca web app in step 4 of Subscription and Web App .
this will create a zip file named package.zip./install.sh <env-code> <registryUsername> <registryPassword>Finally, in the integrate tab of the Azure Synapse portal click the + to add a new resource. Choose import resources from support files and import package.zip
-
Create an Input Folder
The last step in the initial setup for Orca is ensuring that the folder for input imagery is created.
Starting from the Azure portal navigate to the rawdata folder:
Dashboard > Resource groups > <env-code>-data-rg > rawdata<random>
Click the + and add a new container with any name. Within this new container create a folder named input.
Note
The resource group will be prefixed by the environment code chosen in step 2 of Pipeline Setup and the rawdata folder will be created with a unique random suffix.
Initial Orca setup should now be complete!